
Tooth Preparation Steps: Ultimate Crown & Cavity Guide

Tooth preparation may be defined as the mechanical treatment of dental disease or injury to hard tissue that restores a tooth to the original form (Tylman).
Understanding the meticulous process of tooth preparation is fundamental to achieving long-lasting dental restorations, whether you're receiving an ultimate crown or a routine cavity filling
In the case of dental professionals, the art and the science of tooth preparation do not require following a checklist; it does require knowing the why behind each step, staying current in terms of new technology, and continually pursuing the balance of function and aesthetic.
It is time to go through the basics of the modern means of preparation of teeth, the most reviewed study studies, and the practical procedures of the modern age.
Fundamentals of Cavity Preparation
The essence of cavity preparation actually involves just this: taking away diseased tissue, safeguarding the pulp, and preparing a space that will comfortably receive the restorative material. It is not all about drilling and filling.
The objectives are:
-
Eliminate carious tissue
-
Preserve as many healthy teeth as possible
-
Ensure the restoration will last
Traditionally, one prepared a cavity according to the principles developed by G.V. Black, which focused on preventing tooth loss through the mechanical retention of the tooth and frequently created overremoval of sound tooth structure. Today, the emphasis is on minimally invasive dentistry.
Key PRINCIPLES OF TOOTH PREPARATION
The fundamentals of tooth preparation are crucial concepts in prosthodontics, and both Rosenstiel et al. (from Contemporary Fixed Prosthodontics) and Shillingburg et al. (from Fundamentals of Fixed Prosthodontics) emphasize similar core principles with slight variations in emphasis and terminology. Here's a breakdown of the fundamentals according to Rosenstiel, in the diagram below:-

Five Basic Principles of Tooth Preparation (According to Shillingburg)
1. Preservation of Tooth Structure
A. Importance of Preservation
-
The goal is to restore the lost tooth tissue while preserving as much of the remaining natural structure as possible.
B. Consequences of Over-Preparation
-
Increased thermal sensitivity
-
Pulp inflammation or necrosis
-
Reduced retention and resistance
-
Compromised structural integrity
C. Preservation of Contact Areas
-
Maintaining proper proximal contacts helps prevent decay and supports periodontal health.
2. Retention and Resistance
A. Retention: Prevents the crown from being dislodged along the path of insertion; Influencing factors include:-

-
Taper of the preparation
-
Surface area
-
Roughness of the prepared surface
-
Properties and thickness of the luting cement
B. Resistance: Resistance prevents dislodgement from lateral or oblique forces.

C. Preparation Geometry
-
Ideal taper: 2° to 6°
-
-
Parallel walls enhance retention.
-
Undercuts must be avoided.
-
Auxiliary features (grooves, boxes) can improve retention and resistance.

D. Surface Roughness
-
Slight roughening may enhance retention but complicates impression-making.
-
Over-smoothing or using certain coatings (e.g., varnish) can reduce cement adherence.
3. Structural Durability
The crown must have enough material bulk to withstand occlusal forces without failure.
A. Occlusal Reduction
-
Functional cusps require 1.5 mm clearance.
-
Non-functional cusps require 1.0 mm clearance.

B. Beveling Functional Cusps.
-
Inadequate beveling may result in thin restoration areas prone to fracture.

C. Axial Reduction
-
Provides necessary space for material thickness and proper contour

4. Marginal Integrity
The restoration’s margin must fit precisely against the prepared tooth to ensure longevity and prevent microleakage.
Types of Finish Lines
-
Knife-edge (Feather edge): Suitable for lingual surfaces; minimal tooth reduction; harder to manage during restoration.
-
Chamfer: Most commonly used; provides good strength and ease of preparation; ideal for metal and metal-ceramic crowns.
-
Shoulder (Blunt step): Offers superior support for porcelain; ideal for all-ceramic restorations; creates a 90° angle between axial and marginal walls.
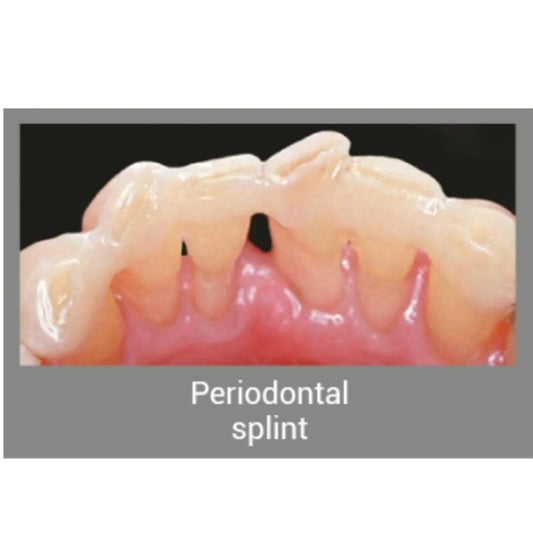
5. Preservation of the Periodontium
Proper finish line placement ensures periodontal health and simplifies crown fabrication.
A. Finish Line Location
-
Subgingival: Often used for esthetics but may risk tissue irritation.
-
Supragingival: Easier to clean and less invasive; preferred when esthetics are not a primary concern.
-
Equigingival: Placed at the gingival margin; often used for balanced outcomes.
Steps of Tooth Preparation
The following are the tooth preparation steps, the nitty-gritty stuff to distinguish a good one vs a great one:
Step 1: Diagnosis and Treatment Planning
Collect all the numbers: clinical test, radiographs, and the expectations of that patient, even before you touch your handpiece. Select the type of restoration and type of material (e.g., PFM, all-ceramic, zirconia).
Step 2: Isolation and Anaesthesia
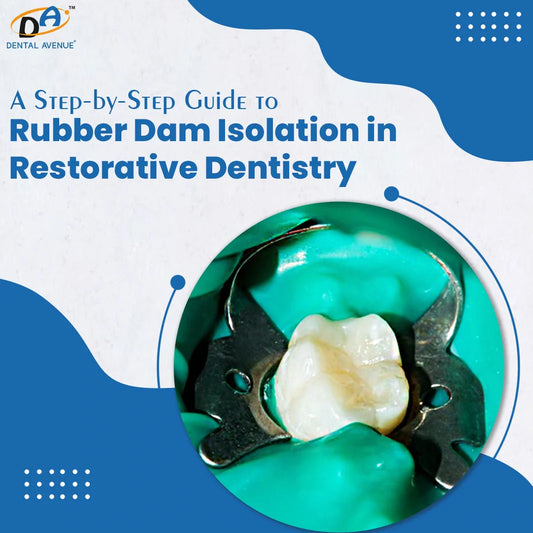
Isolate the tooth whenever possible using a rubber dam isolation. Local anaesthesia is used to make the patient comfortable.
Step 3: Depth Orientation Grooves
Perform the occlusal, axial, Labial surface, Incisal surface, and cavity depth-cutting with burs to make orientation grooves. This allows equitable reduction and avoids over- and under-preparation.
Step 4: Occlusal Reduction
Thin the occlusal surface based upon the needs of the material (usually 1.5-2.0 mm with PFM or all-ceramic crowns).
Step 5: Axial Reduction
Finish the axial walls, and keep an even taper (6-10 degrees) to retain the best and resist.
Step 6: Margin Preparation
Choose and make a suitable margin: chamfer on metal-ceramic, shoulder on all-ceramic, or feather edge on minimum reduction.
Step 7: Refinement and Smoothing
All surfaces must be refined and sharp edges of lines rounded, and preparations must contain no undercuts.
Step 8: Evaluation and Final Adjustments
Confirm sufficient reduction, smoothness, and correct positioning of the margin. Use a periodontal probe or putty index to verify dimensions.
Step 9: Impression and Temporization
Make a correct impression and surface a tentative restoration as a cover to the tooth till the final crown cutting steps take time.
Recommended Read - Minimally Invasive Teeth Contouring with Composite and Matrix Systems
Such tooth preparations are the pillars of effective restorative dental care. They are all blocks; passing one step or doing it in a rush would compromise the result.
Tips for Success
Always check occlusal clearance with articulating paper.
Use magnification for precision.
Clear communication with your dental lab will give you the best results.
Types of Diamond Burs commonly used for stages of tooth preparation
-
Shapes:
-
Round: Used for initial access and gross reduction, especially in cavity preparations.
-
Wheel: Ideal for the Lingual surface of anterior tooth preparation.
-
Cylinder (Flat-end or Tapered>Used to create a shoulder margin with a definitive 90-degree finish line.
-
Round Tapered: Useful for creating tapered walls and precise heavy chamfer margins.
-
Flame: Good for facial and lingual reduction, especially in anterior tooth preparation.
-
Needle shape TC series; Used for interproximal margins
-
Pear-shaped: Primarily used in operative dentistry for initial tooth structure removal.
2. Grit: Coarse grit is for rapid reduction, medium grit for shaping, and fine grit for finishing and smoothing tooth surfaces and margins.
TOOTH PREPARATION FOR PFM CROWN
PORCELAIN FUSED TO METAL VS. ALL CERAMIC CROWN.
Tooth preparation for PFM crown, zirconia, and lithium disilicate requires precise tooth reduction, occlusal clearance, and axial reduction using proper burs. Correct margin design—shoulder, chamfer, or bevel—ensures good fit and retention.
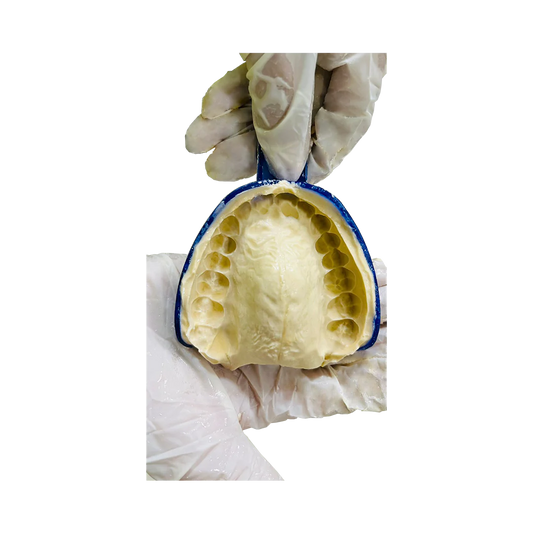
After preparation, accurate impressions are taken with alginate (preliminary) or Addition silicone (final) to capture details.
|
Step/Feature |
PFM (Porcelain Fused to Metal) |
All-Ceramic Crown |
|
1. Reduction (Occlusal) |
1.5–2.0 mm (only at functional cusp bevel required) |
1.5–2.0 mm (uniform, anatomic)-For lithium disilicate 1.5 -For Zirconia |
|
2. Axial Reduction |
1.2–1.5 mm |
1.5 mm -2mm(depends on ceramic system; lithium disilicate needs more than zirconia) |
|
3. Margin Design |
- Facial: Shoulder (1.2–1.5 mm) - Lingual: Chamfer (0.5–1.0 mm) |
- Deep shoulder (1.5-2 mm) for strength and esthetics-For lithium disilicate or Heavy chamfer-For zirconia |
|
4. Finish Line |
Supragingival or equigingival preferred when esthetics allow |
Equigingival/subgingival acceptable if required for esthetics |
|
5. Taper |
6° total occlusal convergence ideal |
6° total convergence (same as PFM) |
|
6. Bevel |
Sometimes used on facial/lingual margins (metal margin) |
Not recommended – weakens ceramic |
|
7. Internal Line Angles |
Rounded (to prevent stress concentration) |
Well-rounded – sharp angles cause ceramic fractures. Rounded as PFM for Zirconia |
|
8. Retention & Resistance |
Good with parallel walls and proper height |
More critical in all-ceramics Lithium disilicate due to brittleness |
|
9. Esthetic Consideration |
Acceptable; may show metal at the margin |
Superior esthetics in every system |
|
10. Material Thickness |
Minimum porcelain: 1.0–1.2 mm Metal coping: 0.3–0.5 mm |
Varies: 1.0–1.5 mm depending on system<Zircomia,emax, Lithium disilicate> |
For a deeper dive into these Tooth preparation principles, please refer to Dr. Goodacre's seminar article: https://pubmed.ncbi.nlm.nih.gov/15172605/
Tooth Preparation Steps: How Dental Avenue India Can Help?
In terms of acquiring the correct set of tools and materials when preparing teeth, Dental Avenue India can be recommended since it is a trusted supplier of dental professionals. Here is how they have the potential to help your practice:
-
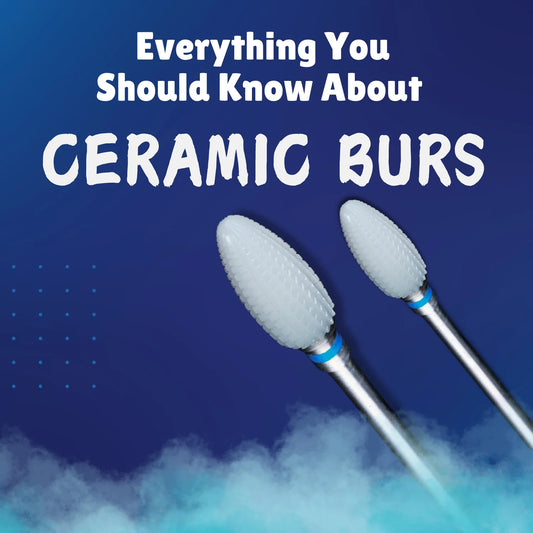
SS WHITE Carbide and Diamond Burs: Accurate and effective cutting with precision instruments for cavity and crown cutting procedures.
-
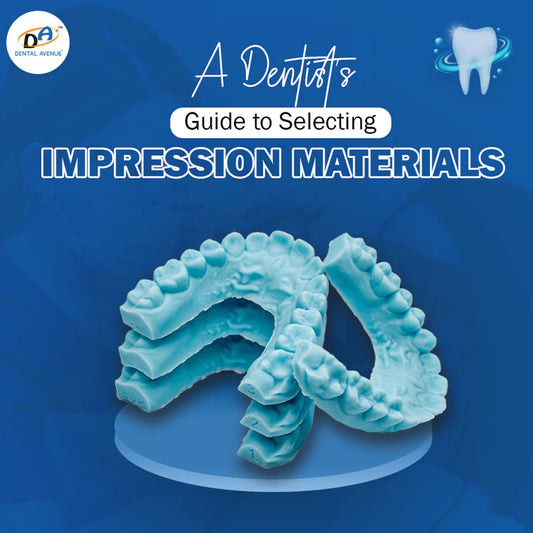
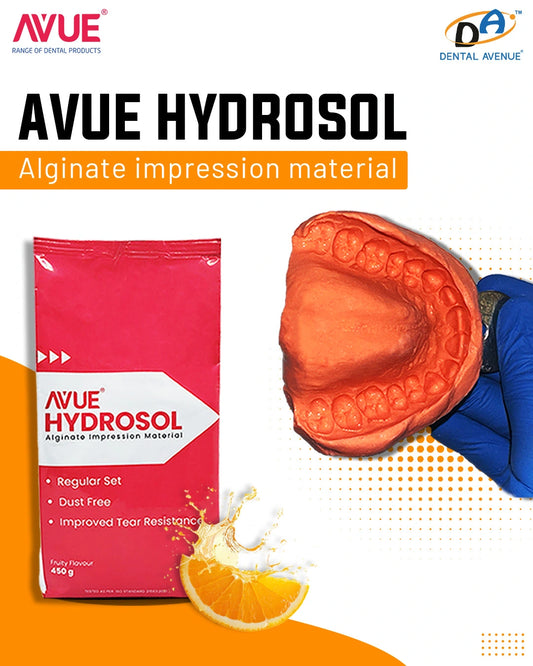
Dental impression materials products to achieve secure and comfortable coatings of crowns and bridges.AvueGum light body, Heavy body, Medium body, and AvueGum Putty, along with Avue Hydrosol; Alginate Impression material.
-
Restorative Materials: Durable, esthetic, high-quality dental composite kit, cements, and materials for durable, esthetic restorations.
-
Bisacryl temporary crown & bridge material: For Provisional crown and bridge, chairside: Avue T crown
-
Luting cement: Riva luting ;Rivacem Automix and Set pp
-
Quality Assurance: Products also meet world standards, so you can be at peace.
-
Competitive Pricing and Support: Premium goods at affordable prices that offer high customer service.
With Dental Avenue India, you have access to everything you need for successful tooth preparation, from burs to impression materials and beyond.
Final Thoughts
Tooth preparation is both an art and a science. It’s the foundation upon which every successful restoration is built.
Remember, every tooth is unique, and every patient deserves your best. Embrace minimally invasive techniques, leverage digital tools, and never stop learning.
With the right approach and the right partners like Dental Avenue India, you’ll be well-equipped to meet the challenges of modern restorative dentistry.
Frequently Asked Questions (FAQs)
- PFM Crowns: 1.5–2.0 mm occlusal, 1.2–1.5 mm axial reduction
- All-Ceramic Crowns: 1.5–2.0 mm incisal/occlusal, 1.0–1.2 mm axial
- Full Metal Crowns: 1.0–1.5 mm occlusal, 0.8–1.0 mm axial
Discover our Latest Blogs